Guides
Aquarium Temperature Control: How I Hacked My Air Conditioner for My Coral Farm

May
Maintaining stable aquarium temperature is one of the most crucial aspects of running a successful coral farm. Instead of relying on standard aquarium controllers, heaters or chillers, I took a different approach. I modified my Mitsubishi air conditioner to monitor and control aquarium temperature directly. This simple yet effective DIY method has changed the way I manage temperature across all systems in my farm — and it cost me nothing.
Why Control Aquarium Temperature via Air Conditioner?
If you run multiple aquariums, heating or cooling the entire room becomes far more efficient than managing each tank individually. With this setup, the aquarium temperature dictates the behavior of the air conditioner. Not only does it stabilize the environment for your corals and fish, but it also improves comfort for anyone working in the room. During summer, the air conditioner acts as a dehumidifier too, which is a bonus if you have large tanks creating humidity.

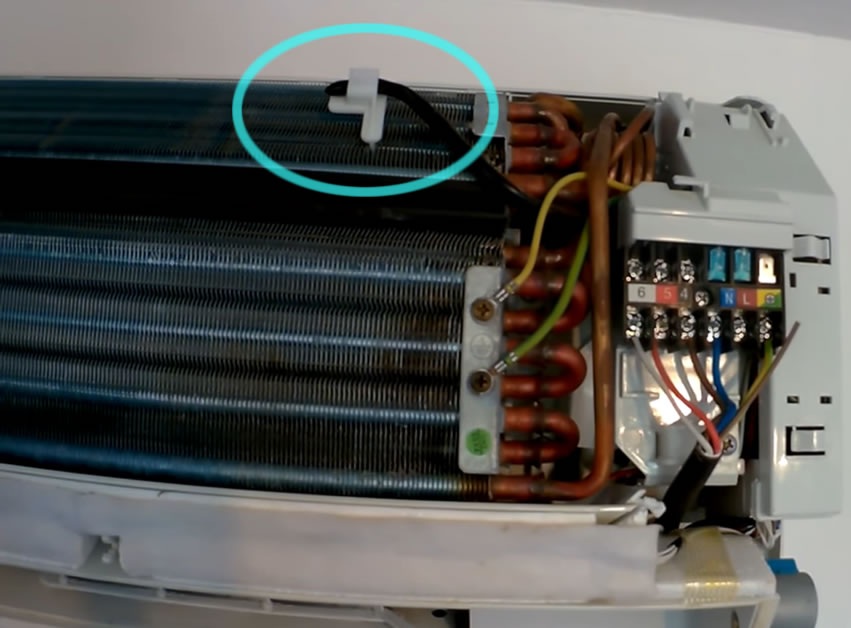
Locating the Ambient Temperature Sensor
The first step was to find the air conditioner’s internal ambient temperature sensor. On my Mitsubishi model, it was located just behind the filters, near the terminal box. If your sensor looks like a small, coated epoxy bead, good news — it’s waterproof and you won’t need to replace it.
Extending the Sensor to the Aquarium
After locating the sensor, I cut the cable halfway and extended it with a 2-core general-purpose copper cable to reach the aquarium. The critical part here is to solder the connections. Twisting wires might seem easier, but poor connections will affect the low voltage signals and can lead to inaccurate temperature readings or even air conditioner malfunction.
If you haven’t tried any soldering, here is a link for a starter guide:
https://www.youtube.com/watch?v=Qps9woUGkvI
When extending cables, make sure you measure the length accurately so the sensor can be fully submerged in your sump, ideally near good water flow for even readings.


Choosing the Right Sensor (If Yours Isn’t Waterproof)
If your sensor has a copper housing, don’t submerge it in water. Copper corrodes quickly in saltwater and will harm your fish and corals. Instead, measure the resistance of your original sensor at 20–25°C (room temperature) and look for a waterproof sensor with the same resistance. These are widely available from UK suppliers like:
Once you get the correct waterproof sensor, solder it to the cable as described above.
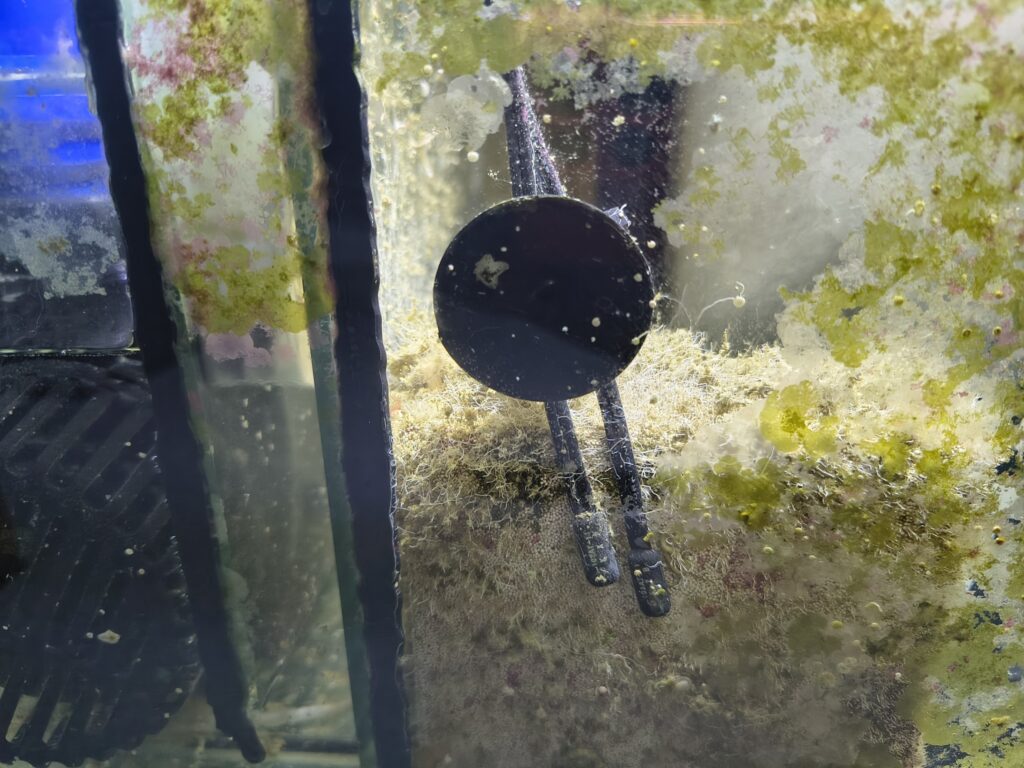
This is how waterproof sensor should look like.

Real-Time Aquarium Temperature Monitoring from Anywhere
The final step was understanding how the system works with the Mitsubishi air conditioner app. Since the sensor is now reading aquarium temperature, the app displays the actual tank temperature instead of the room’s. I can adjust the temperature remotely and receive alerts — even when I’m overseas.
I tested this setup while I was in Malaysia hand-picking corals. Knowing I could monitor and adjust temperatures thousands of miles away gave me peace of mind and saved me from having to rely on others during my absence.

Better Than Aquarium Controllers?
Sure, aquarium controllers can operate chillers and heaters and send alerts — but can they control your air conditioner and manage the aquarium temperature of an entire room? This setup eliminates the need for multiple devices while offering broader environmental control and remote access.
If you’re running several tanks or just want a simple and effective temperature control method, this is a cost-free DIY worth trying.
Final Tips:
- Always solder your connections to prevent voltage loss.
- Use only waterproof sensors.
- Monitor your air conditioner’s behavior during the first few days to confirm everything is working smoothly.
Check out our ACROPORA COLLECTION- CUT TO ORDER
Explore OTHER CTO CORALS and FRAGS
Visit also SPS FRAGS- WYSIWYG
Have a look at our ZOA Gardens- WYSIWYG
If you want to learn how our friends at Extreme Corals maintain a stable temperature in their systems, please check out the link below:
https://www.extremecorals.com/blog/seasonal-coral-care.html